Candles DIY
Post from EditorialsCarry candles at home is a fun activity that can be performed without difficulty. That's all the information to create candles DIY.
Fun creating candles
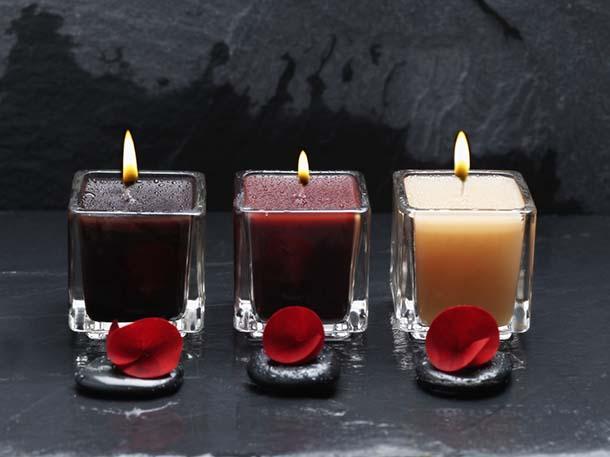
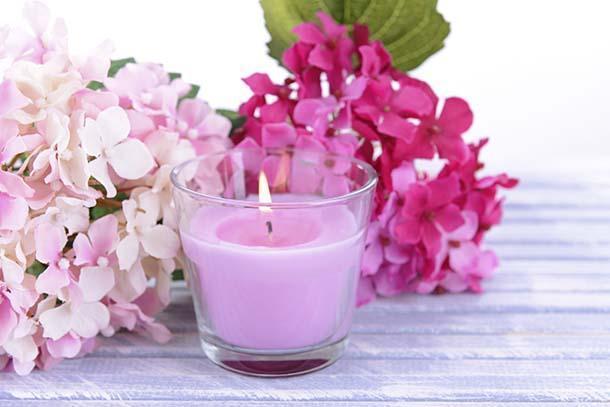
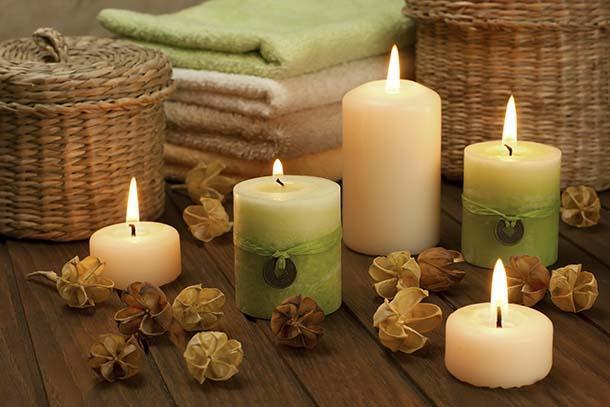
 Create by yourself colored candles, with various forms and scents.
All this is possible using the right ingredients and following step by step a very simple procedure, in your own home.
Making candles is a pleasant pastime, not difficult at all and above all give satisfaction to be able to decorate your home with items made with your own hands.
Ingredients for candles DIY
The first step to create the candle is of course to gather the necessary ingredients. First we must think of the wax. Typically, you use paraffin mixed with stearin. Paraffin is available in flakes or cubes and is transparent.
It is a mixture extracted from oil and is the most suitable substance to ensure greater resistance to the candle.
The wax is mixed with lard to make it even harder for the candle and let it burn steadily once lit. Usually the amount of stearin corresponds to ten percent compared to the paraffin.
Deriving directly from oil, paraffin can, however, constitute the solution less suitable as regards health. For this reason, it is often advised to use beeswax, natural ingredient that, besides being completely harmless, gives the candle a natural look, with a fine and delicate amber shade. 
Moreover, thanks to beeswax also the scent of the candle will be very fresh, without the need to add fragrant essences during its realization.
Anyway, on the market you can find also ready and colored wax, which allows you to speed up operations and does not require the addition of color.
Then the molds are very important, where you put the wax once it is melted. These can be of two types: the molds from which the spark plug is removed after completion and then serving only to shape it and those in which the candle can be left, thus acting as a?decorative support.
The first type of molds can be of steel or rubber while the latter is generally made of cups, jars and containers in old wood or glass.
In any case, the molds must be temperature resistant, for which you can use also baking trays, which give to the wax fine shapes with effect in low relief.
Fundamental then is the pot where the wax is melted in bain-marie.
It must have a high edge, preferably stainless.
As for the wick, it should be a cotton thread of variable thickness, soaked in wax.
For this, the spark will have to be proportioned in size. The wick can also be purchased ready, or it can be done using cotton crochet.
To give the color instead, you can use the special tablets?to dissolve in a water bath together with wax or, to save or to complete a DIY, you can use pieces of wax crayons.
Even for the perfume that you want to give to the candle, the solution is quite simple. It is enough to combine a few drops of essential oil fragrance that you prefer to the melted wax.
Other useful tools are then the thermometer to measure the temperature of the wax during the dissolution, with a measuring capacity of up to at least one hundred and fifty degrees centigrade, and the spoon, preferably in steel, to mix.
Also essential is the?sealant for the molds. It is a paste-like consistency during the pose and which must be applied in the mold in order to take the wick retainer and at the same time to prevent the wax from coming off.
Procedure for candles DIY
Once you have all the ingredients and tools needed, we can proceed with the creation of the candles.
First, the chosen material will melt in the pot in a water bath. If you opted for paraffin combined with stearin, they will be combined.
Since the cold wax tends to clear than when it is still warm, it is recommended that, after the dissolution, your stir it with?steel spoon to check the color that will take once cooled. Verified shades, will add color, depending on the intensity metered final to be obtained. After making the color uniform, you will add finally the fragrant essence.
Meanwhile, you will need to prepare the mold and the wick.
For the latter, the length will be accurately calculated.
It will have to be two centimeters?longer compared to the mold at the bottom and five centimeters for the upper one. Before being put into the mold, the wick will be completely immersed in the wax for two or three times, leaving it to dry after each time. The mold will need instead to be greased with cooking oil with the aid of a brush.
If the candle will be removed from the mold, it is then necessary to make a hole at the bottom.
You must therefore ensure the position the wick, possibly causing it to pass through the hole and taking it out for at least two centimeters.
So that the wick remains straight, we must apply the sealant to the base.
This will also ensure that the wax remains securely in the mold.
After the preparation of the mold, you will finally pour the melted wax.
First, however, it will be necessary to measure the temperature?of the wax with a thermometer, which must be around 80c. Next, pour in the wax, we must proceed slowly, making sure that no bubbles form during the?filling.
Finally, to facilitate the solidification of the candle, it will be appropriate to place the mold for a few minutes under cold water or in the freezer. Once fully cooled, the candle will be ready and will eventually be decorated to your liking, with leaves, flowers or anything.
80273 REGISTERED USERS


